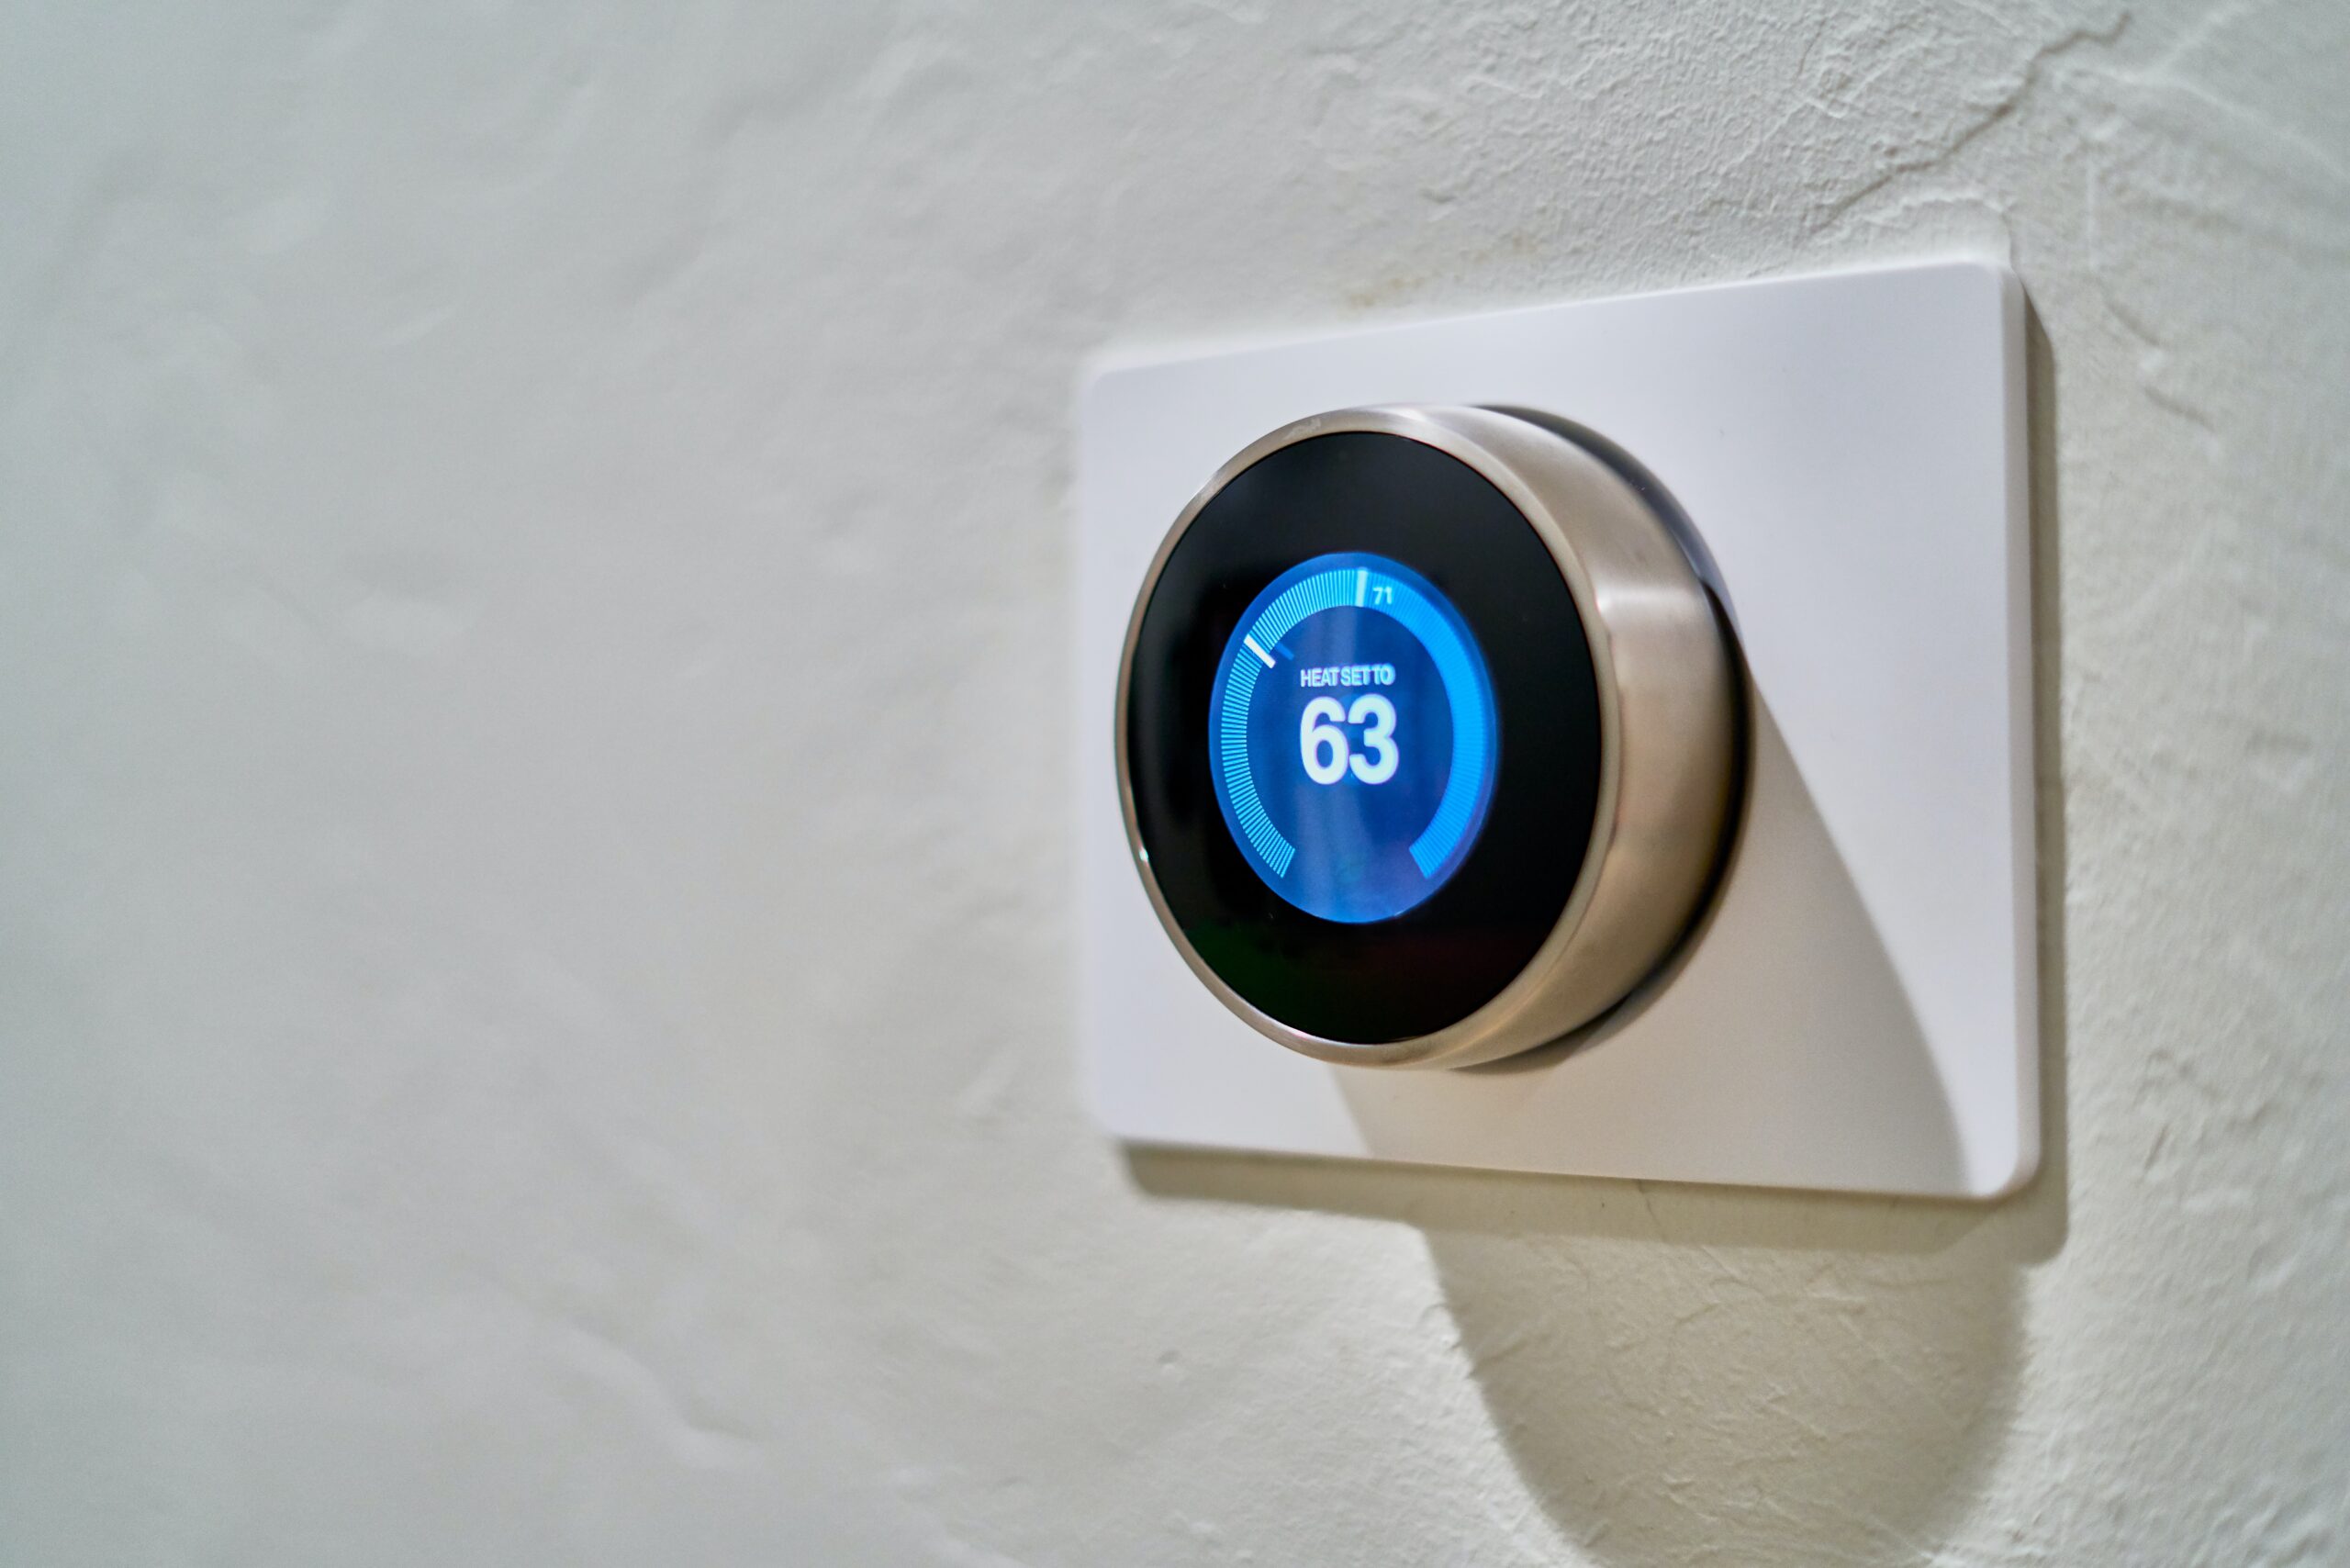
We all know how important smart home electronics are and one of them is the basic thermostat. This important device is in charge of keeping the temperatures ideal in your home by acting as a control hub for your HVAC systems which supply heating and cooling to your rooms.
Honeywell Is among the best companies that provide uniquely designed thermostats for your home. However, even the most advanced thermostats require a stable power supply to function properly. Especially when you’re moving into a new home, it’s important to know that every thing is working in perfect order, and if they’re not working, it’s crucial that you know how to replace the batteries so your thermostat receives uninterrupted power supply.
In this article we will show you how to properly replace the batteries in your Honeywell thermostat, so whether you’re a seasoned DIY or a complete newbie, we’ve got you covered and by the time you finish reading this article you’ll easily be able to replace the batteries.
First Things First, You Gotta Open The Thermostat
The first thing you need to do is open up the faceplate and access the battery compartment, here’s how you do it:
Find the thermostat: Your thermostat will usually be in a place that doesn’t receive direct sunlight and it’s mostly fixed in a place which is not too hot or cold. In some cases, it can even be found beside the entrance to your home/room.
Turn off the thermostat: Once you’ve located the thermostat you need to turn it off in order to avoid any possible electrical problems while replacing the batteries. Locate the power switch or button on your thermostat and turn it to the “Off” position.
Removing The Faceplate: To access the battery compartment, the faceplate needs to be removed. Most Honeywell thermostats have a faceplate so this is an important step. Carefully remove the faceplate by gently pulling it away from the thermostat. Sometimes, the faceplate might be locked or held in place by screws so it’s important that you take your time to gently unscrew the faceplate or unlock it.
Next Steps
Access the Battery Compartment: Once you’ve successfully removed the faceplate, you’ll need to access the battery compartment which should clearly be visible. The location of the compartment might be different on each model but it’s usually either at the top or bottom of the thermostat.
Open the battery compartment: You can either use your fingers or a small screwdriver to pry open the battery panel but be careful while handling the thermostat and avoid using too much force to prevent any damage.
Remove the old batteries: Before removing the batteries make sure to take note of their orientation. Honeywell thermostats usually require AA or AAA batteries. Take out the old batteries from the compartment and take note of their positive (+) and negative (-) terminals.
Insert new batteries: Once you have your batteries, align them in the compartment according to their respective terminals and make sure that they are sitting in the proper position.
Finally, Close the battery compartment and reattach the faceplate: The last step is usually the easiest, all you must do now is simply screw back the battery panel and reattach the faceplate by firmly pressing it down on the thermostat. Make sure to fasten any screws to ensure a tight fit.
Wrap Up
Now all that’s left is just to turn on the thermostat and there you have it! This is how you can easily replace the batteries on your Honeywell thermostat.


